a fully featured, multi-user, dev env running on your k8s cluster that can coldboot in less than 10s
what & why
I use VS Code as my primary IDE for everything, from python development, to kubernetes/helm chart generation, even when building stuff for raspberry pico or arduino.
My daily workflow at work is :
- develop on vscode, mostly python/go,
- have docker installed and build my images on my computer,
- push them on a local (LAN) k8s cluster with a registry,
- redeploy on the cluster using skaffold by targeting the registry.
But having most of the work done on my computer is not ideal. I need to have a shitload of stuff installed (vscode, dependencies, docker (which on mac runs on a vm).. ), and I have a massive cluster doing absolutely nothing out of that flow. So the goal here is to leverage as much as I possibly can from the server, and have the most lightweight local environment possible.
And because this will be used to work as a team, we need this to be multi-user.
Basically we want to go from that:

to that :
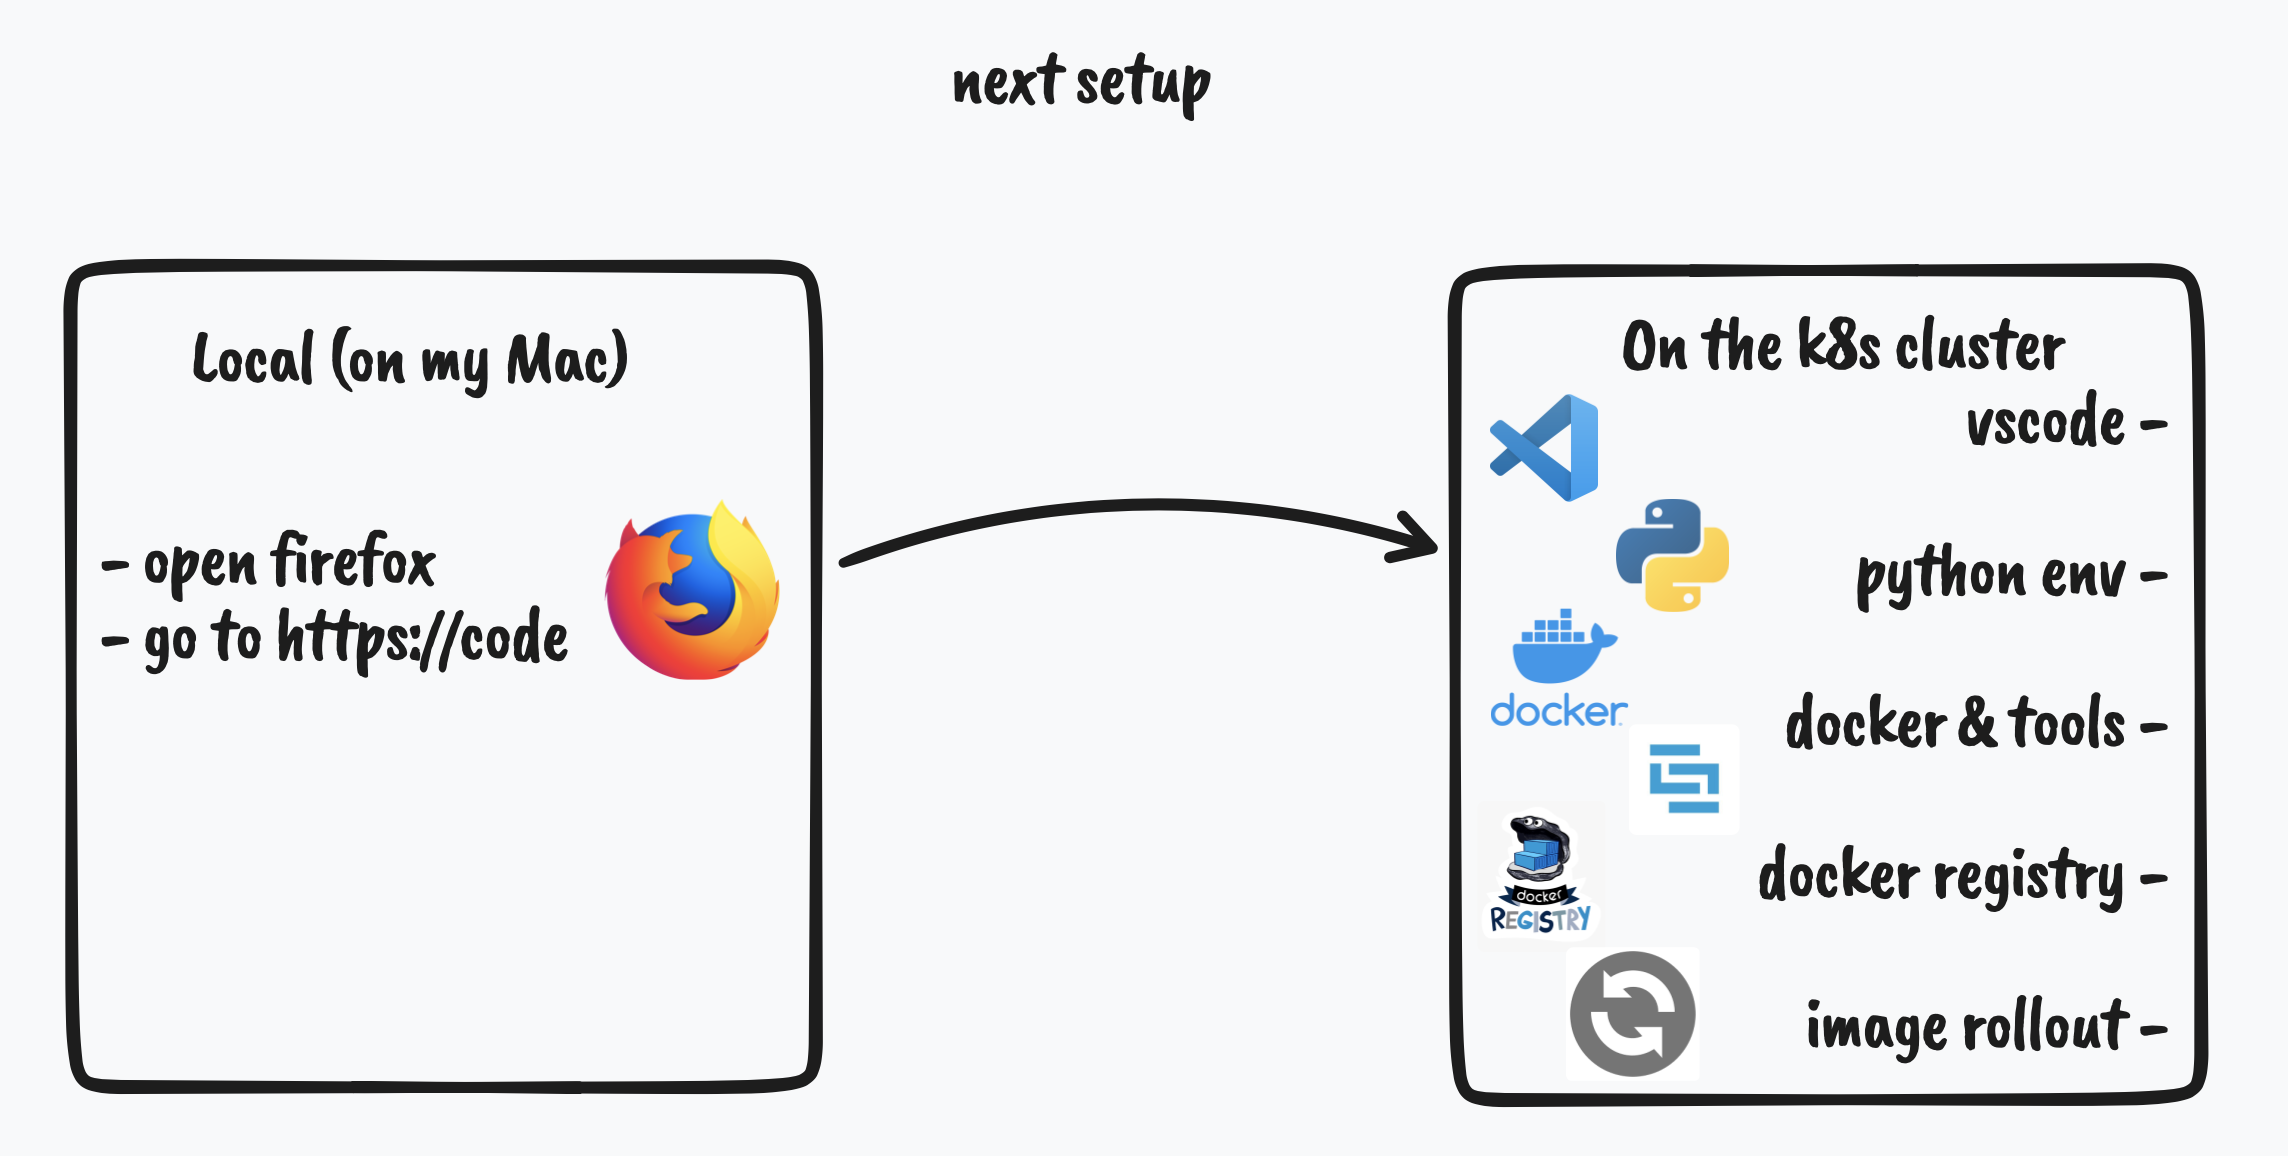
With all that said, let’s deploy a multi user vscode environment in our kubernetes cluster !
how
There is 2 main components that we’ll need to make this:
- a docker image that will be ran in our cluster, and that will include everything we need
- a way of using this image as our remote environment
(I assume an already running kubernetes cluster, if not there is a link to a guide in the second section)
step 1: making a code-server docker image
The guys at CoderHQ have made a version of vscode that can run remotely (https://github.com/coder/code-server), and the interface is available through HTTP.
So we’ll use that to have VS Code running remotely. But we might want other things to be installed too, like a specific language env, a different shell…
Here is the Dockerfile I use, that installs some utils for kubernetes, python, code-server and the fish shell:
# base
FROM ubuntu:20.04

# tools, shell, language support
RUN apt update
RUN DEBIAN_FRONTEND=noninteractive apt install curl htop git dnsutils less fish nano openssh-client python3 python3-pip python3-venv -y --no-install-recommends

# k8s tools (docker client, kubectl, k9s, skaffold)
COPY --from=docker:dind /usr/local/bin/docker /usr/local/bin/docker
RUN curl -Lo kubectl  "https://dl.k8s.io/release/v1.22.0/bin/linux/amd64/kubectl" && install kubectl /usr/local/bin/kubectl
RUN curl -Lo skaffold "https://storage.googleapis.com/skaffold/releases/latest/skaffold-linux-amd64" && install skaffold /usr/local/bin/skaffold
RUN curl -Lo k9s.tar.gz "https://github.com/derailed/k9s/releases/download/v0.25.8/k9s_Linux_x86_64.tar.gz" && tar xvf k9s.tar.gz k9s && install k9s /usr/local/bin/k9s

# code-server
RUN curl -fsSL https://code-server.dev/install.sh | sh

# config & cleanup (set shell, copy config, apt cleanup.. )
RUN chsh -s /usr/bin/fish
COPY config/ /tmp/code
RUN chmod a+x /tmp/code/bootstrap.fish
RUN rm kubectl skaffold k9s.tar.gz k9s
RUN apt-get clean && rm -rf /var/lib/apt/lists/* /var/tmp/*

# mounted work dir
WORKDIR /root/projects
CMD ["/tmp/code/bootstrap.fish"]
the /tmp/code/bootstrap.fish mentionned as the CMD is a script that creates some dirs, moves config in the right places, then starts vscode:
#! /usr/bin/fish
# copies the default config to the home dir is not present
# and launches code-server as main process

if test ! -e /root/.code
    echo "creating ssh keys"
    mkdir /root/.ssh
    chmod 700 /root/.ssh
    ssh-keygen -b 2048 -N "" -f /root/.ssh/id_rsa

    echo "creating python venv"
    python3 -m venv /root/dev-env

    echo "creating config directories"
    mkdir -p /root/.config/code-server/data
    mkdir -p /root/.config/code-server/extensions
    mkdir -p /root/.config/fish

    echo "copying config"
    mv -v /tmp/code/config.fish   /root/.config/fish/config.fish
    mv -v /tmp/code/config.yaml   /root/.config/code-server/config.yaml
    touch /root/.code
end

echo "starting code server"
exec code-server --config=/root/.config/code-server/config.yaml /root/projects
We need to do this when the container starts instead of when generating the image, because the /root folder will be mounted as a volume in our container, making our work data and project persistant, even if we upgrade the image or restart the container.
Also, the config.yaml from the exec line at the end is the code-server config to use. It binds to port 8080, sets the config paths, disables auth, telemetry & update checs.
bind-addr: 0.0.0.0:8080
auth: none
user-data-dir: "/root/.config/code-server/data"
extensions-dir: "/root/.config/code-server/extensions"
cert: false
disable-telemetry: true
disable-update-check: true
If we were to start this image locally using docker with -p 8080:8080, we would find a vscode running on that port.
step 2: managing users through jupyterhub
Using a single code-server is not a viable option because we would appear a a single user and each user would overlap with each other, and storage would be a mess. Each user would need its own folder, and not to mess with others, etc.. Not practical.
So to manage that, we’ll use jupyterhub ! From their github repo (https://github.com/jupyterhub/jupyterhub):
With JupyterHub you can create a multi-user Hub that spawns, manages, and proxies multiple instances of the single-user Jupyter notebook server.
Project Jupyter created JupyterHub to support many users. The Hub can offer notebook servers to a class of students, a corporate data science workgroup, a scientific research project, or a high-performance computing group.
And some smart folks have put an amazing tutorial here !
So for everything related to the basic setup, you can just follow along with their tutorial. It boils down to installing kube and installing helm.
We will also install docker as we only installed the client in our container, and will mount the docker socket in our pod. Note that this is not the most secure approach, and might get revised in the future.
It is also favorable to install an ingress with kubernetes, as that will allow us to use a proper DNS name with HTTPS to access our vscode.
The next step from the guide is to actually install jupyterhub. For that, we’ll use this values.yaml:
singleuser:
  image:
    name: "registry.gitlab.com/alpha-caeli/tooling/code-server" # where your image is stored
    tag: "latest"

  storage:
    homeMountPath: "/root" # for storage persistence

proxy:
  chp:
    extraCommandLineFlags:
    - "--no-include-prefix"
  secretToken: seed_a_random_token_here # change that

hub:
  extraConfig:
    code_spawner.py: |
      # use the kubespawner connector
      # https://github.com/jupyterhub/kubespawner
      from kubespawner.spawner import KubeSpawner
      c.JupyterHub.spawner_class = KubeSpawner

    code_settings.py: |
      # run our bootstrap script
      c.KubeSpawner.cmd = []

      # always pull our image
      c.KubeSpawner.image_pull_policy = "Always"

      # as our user
      c.KubeSpawner.uid = None
      c.KubeSpawner.gid = None
      c.KubeSpawner.port = 8080
      c.KubeSpawner.mem_guarantee = "400M"

      # use our own SA
      c.KubeSpawner.service_account = "code-server"
      c.KubeSpawner.automount_service_account_token = True

      # use user/pass to auth to jupyterhub
      c.JupyterHub.authenticator_class = 'firstuseauthenticator.FirstUseAuthenticator'
      c.Authenticator.admin_users = {'admin'}

      # and mount the docker socket
      c.KubeSpawner.volume_mounts += [{"mountPath":"/var/run/docker.sock","name":"docker-sock"},]
      c.KubeSpawner.volumes += [{"name":"docker-sock","hostPath":{"path":"/var/run/docker.sock"}}]
(don’t forget to edit values.yaml with a random token (using openssl rand -hex 32 for example) and correct admin user)
JupyterHub will use the KubeSpawner instance to talk to kubernetes and create on-the-fly a pod whenever a new user connects. Pretty cool.
Then add the jupyterhub helm chart:
helm repo add jupyterhub https://jupyterhub.github.io/helm-chart/
helm repo update
now deploy it :
helm upgrade --cleanup-on-fail \
  --install vs-code-remote jupyterhub/jupyterhub \
  --namespace <namespace> \
  --version=1.2.0 \
  --values values.yaml
Wait a bit, then looking for pods with the jupyterhub label should output something like that:
> k get pods -l app=jupyterhub
NAME                              READY   STATUS    RESTARTS   AGE
proxy-757bbc65-6t2hv              1/1     Running   3          26d
continuous-image-puller-tn6n4     1/1     Running   3          26d
user-scheduler-7fcb988779-z4zr5   1/1     Running   1          4d8h
user-scheduler-7fcb988779-sh2kj   1/1     Running   0          3d8h
hub-6d94767744-xqb6s              1/1     Running   0          2d9h
To access vscode securely, let’s create a ingress.yaml that routes the jupyterhub proxy svc to a given dns endpoint.
Edit the host to match your cluster’s DNS endpoint (or none for the IP):
apiVersion: extensions/v1beta1
kind: Ingress
metadata:
  name: vs-code-remote
spec:
  rules:
  - host: code.mycluster.lan
    http:
      paths:
      - backend:
          serviceName: proxy-public
          servicePort: 80
        path: /
        pathType: Prefix
  tls:
  - hosts:
    - code.mycluster.lan

---
apiVersion: v1
kind: Service
metadata:
  annotations:
    meta.helm.sh/release-name: vs-code-remote
  labels:
    app: jupyterhub
    app.kubernetes.io/managed-by: Helm
    chart: jupyterhub-1.2.0
    component: proxy-public
    heritage: Helm
    release: vs-code-remote
  name: proxy-public
spec:
  ports:
  - name: http
    port: 80
    protocol: TCP
    targetPort: http
  selector:
    component: proxy
    release: vs-code-remote
  sessionAffinity: None
  type: ClusterIP
status:
  loadBalancer: {}
We’ll also create a rbac.yaml that creates a dedicated service account for the vs-code pod, so that we can talk to the kube api
from there (to deploy/restart services).
apiVersion: v1
automountServiceAccountToken: true
kind: ServiceAccount
metadata:
  name: code-server
---
# RB for the SA
apiVersion: rbac.authorization.k8s.io/v1
kind: RoleBinding
metadata:
  name: code-server
subjects:
- kind: ServiceAccount
  name: code-server
roleRef:
  kind: Role
  name: code-server
  apiGroup: rbac.authorization.k8s.io
---
# Permissions for the SA
apiVersion: rbac.authorization.k8s.io/v1
kind: Role
metadata:
  name: code-server
rules:
- apiGroups: [""]
  resources: ["pods","pods/log","services","persistentvolumeclaims","configmaps","secrets"]
  verbs: ["get", "list","watch","create","patch","update","delete"]
- apiGroups: ["apps"]
  resources: ["deployments","statefulsets","replicasets","daemonsets"]
  verbs: ["get", "list","watch","create","patch","update","delete"]
- apiGroups: ["networking.k8s.io"]
  resources: ["ingresses"]
  verbs: ["get", "list","watch","create","patch","update","delete"]
We can apply those now:
# we have to delete the service beforehand because we can't patch when changing the type of Service
k delete svc proxy-public

# apply our mods
k apply -f ingress.yaml
k apply -f rbac.yaml
You can now go to the endpoint, and you’ll be greeted by the jupyterhub login page.
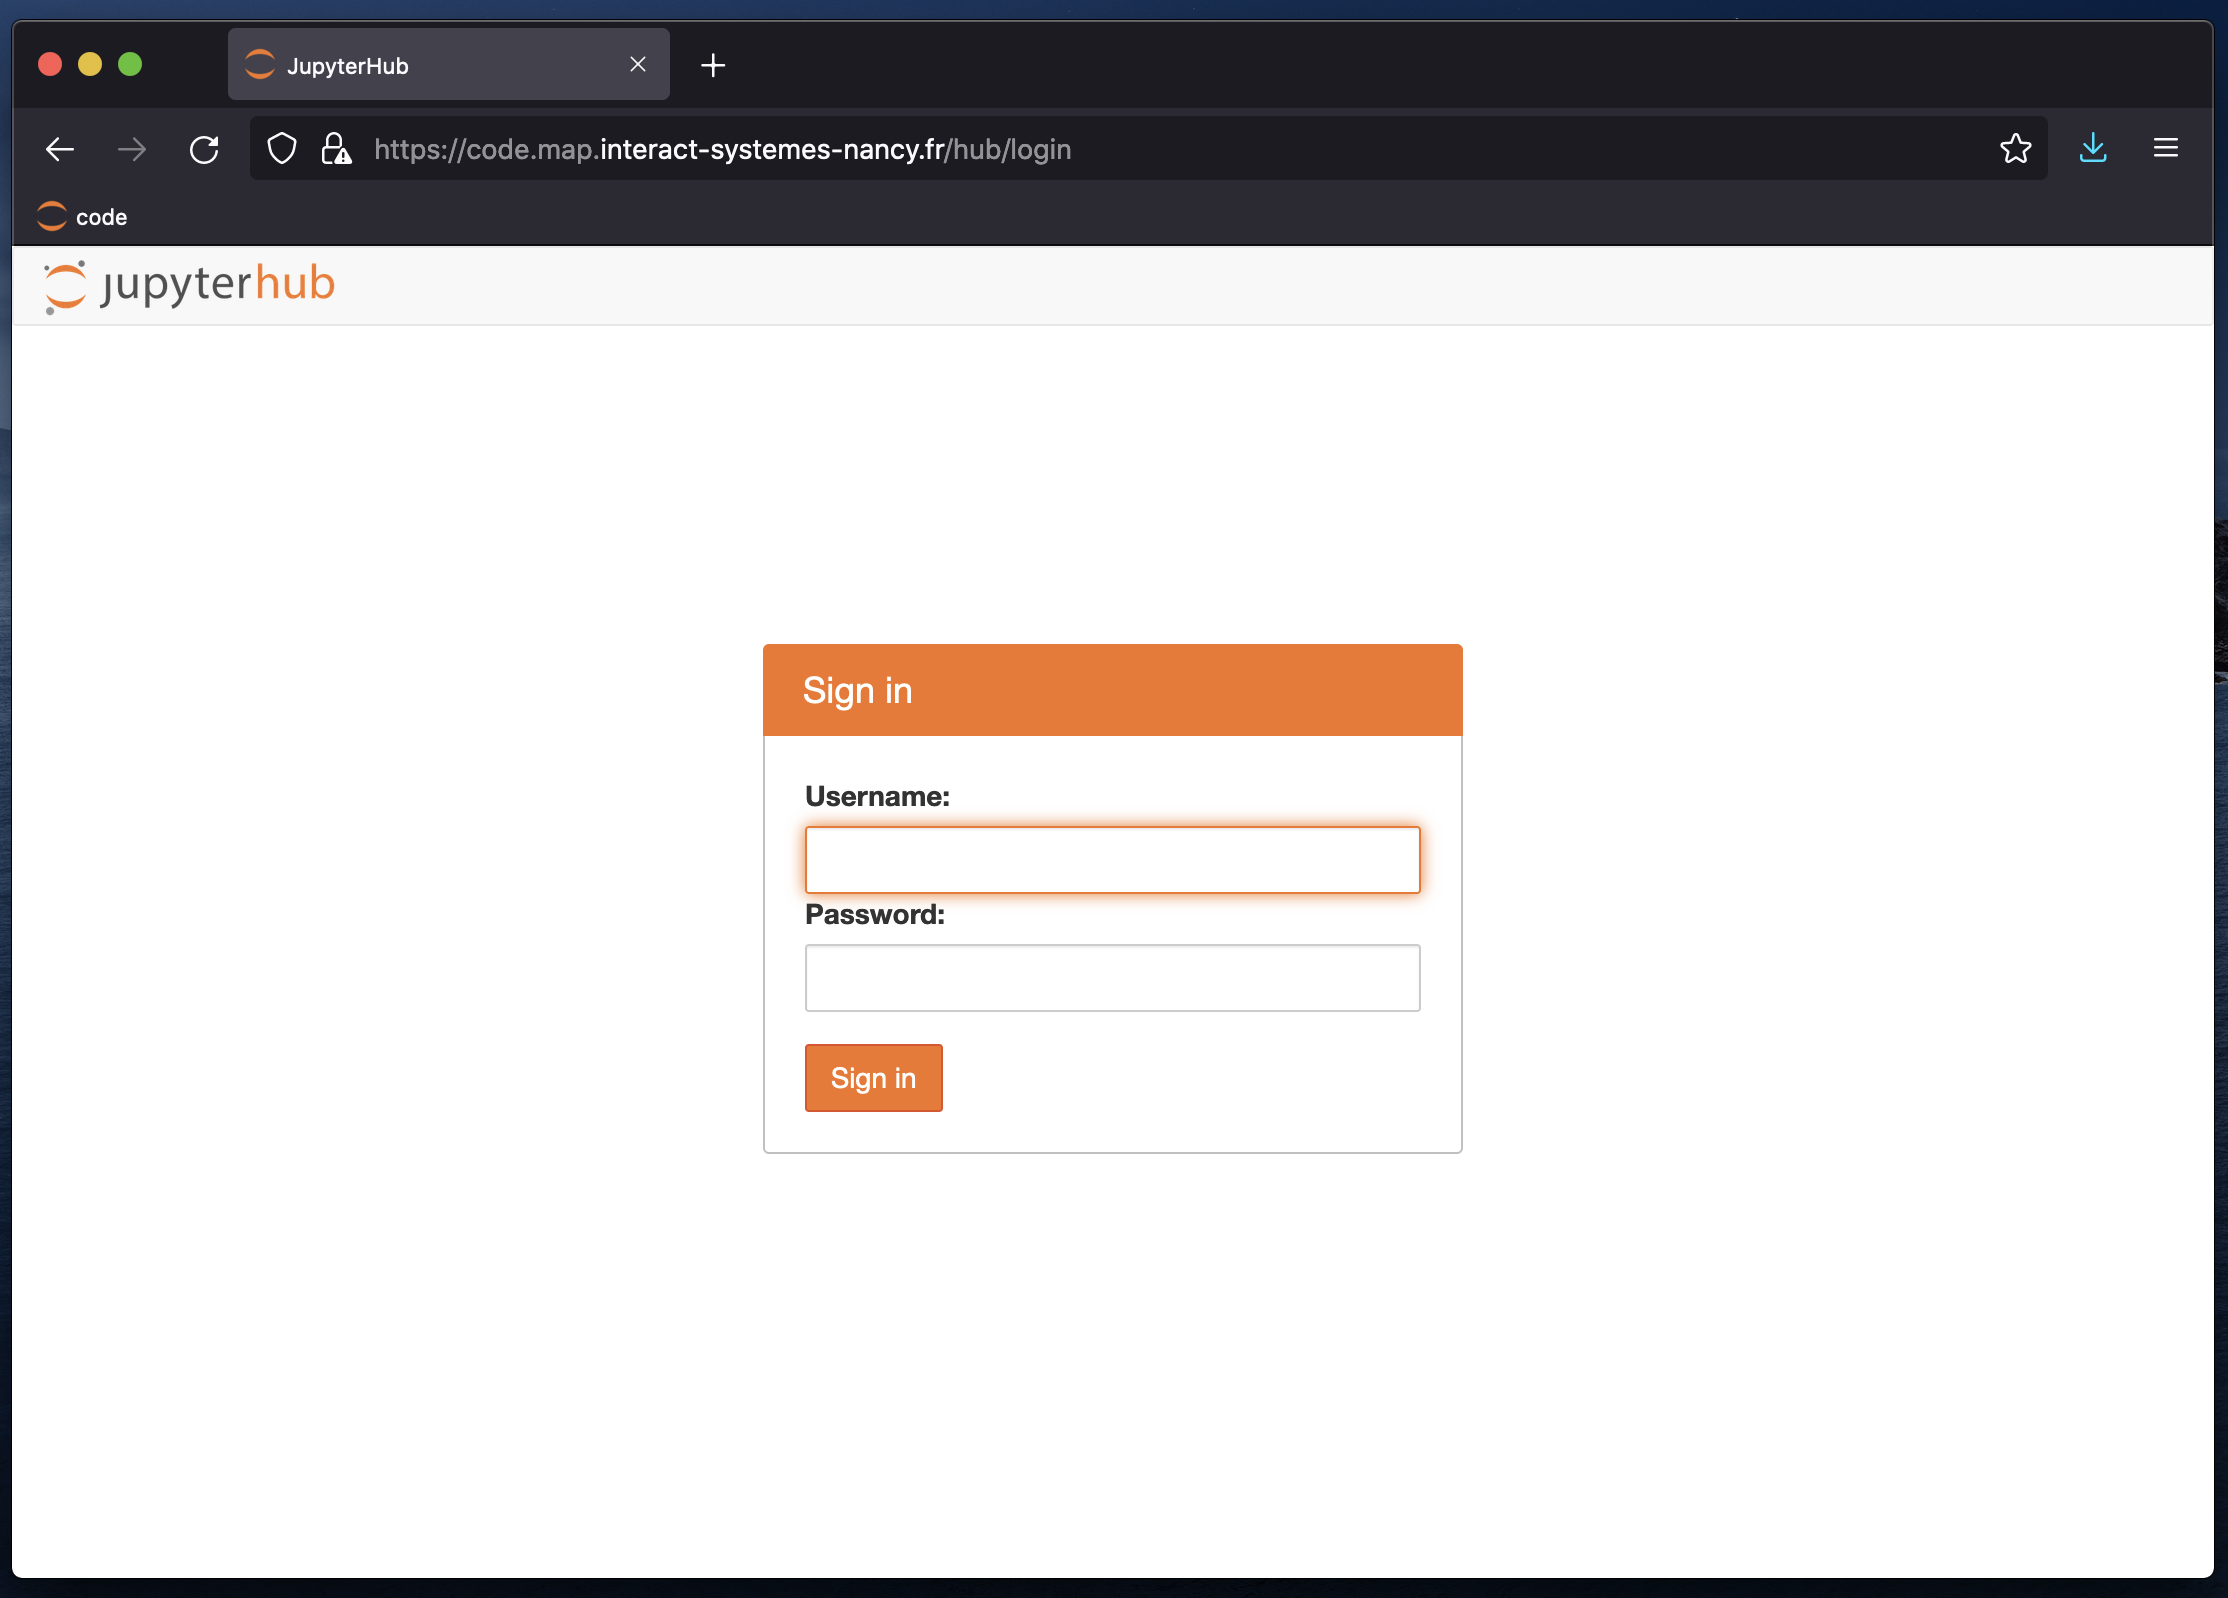
The first time you login, it will record your user/password combo.
Once you’re in, a pod will be created for your environment, and you should see the familiar vscode interface.
And voila! You can now use the power of your cluster to handle the majority of your workflow, while making your laptop cooler and maybe quieter !